How to Turn a Script Into a Storyboard with an AI Storyboard Generator
How to use an AI storyboard generator: import your script, generate shots from it, then adjust characters, scenes and timing in Vibbit.
An AI storyboard generator turns a written script into a visual storyboard. In Vibbit, you type your script or upload a TXT, PDF, Word or MD file, and the AI creates shots from the script and your prompt. Then you adjust characters, scenes, shots and timing, and move on to subtitles, music and cover.
If you make YouTube videos, TikToks, Instagram Reels, product promos or lessons, this helps you plan visually without listing every shot by hand first.
What does an AI storyboard generator do?
It turns your script into a set of shots so you can see roughly how the story or video will look before production.
A traditional storyboard means planning each shot, writing descriptions and placing characters and scenes yourself. With an AI storyboard tool, you give it the script, it drafts the shots, and you edit them toward your goal.
Say you're making a product video for your Shopify store. The script covers the look, the main features, a use case and a closing line. A storyboard splits that into scenes so you can check what each shows and whether the flow makes sense.
It also works for:
- YouTube videos: plan the opening, the main part and the ending.
- TikTok and Reels: split a short script into clear visual beats.
- Ecommerce promos: plan product shots, use scenes and selling points.
- Lessons: put concepts in order as separate scenes.
- Short dramas and stories: plan characters, settings and plot order.
AI storyboards are a starting point. Character looks, scene details, story logic and shot lengths may all need adjusting.
How to turn a script into a storyboard in Vibbit
Three steps: import the script, generate the shots, then review and adjust.
Step 1: Type or upload your script
Paste your script into Vibbit, or upload a TXT, MD, PDF or DOCX file. Pick a style (realistic, 3D CG or 2D animation) and an aspect ratio (9:16 vertical or 16:9 horizontal). The AI detects characters and scenes and splits the script into shots.
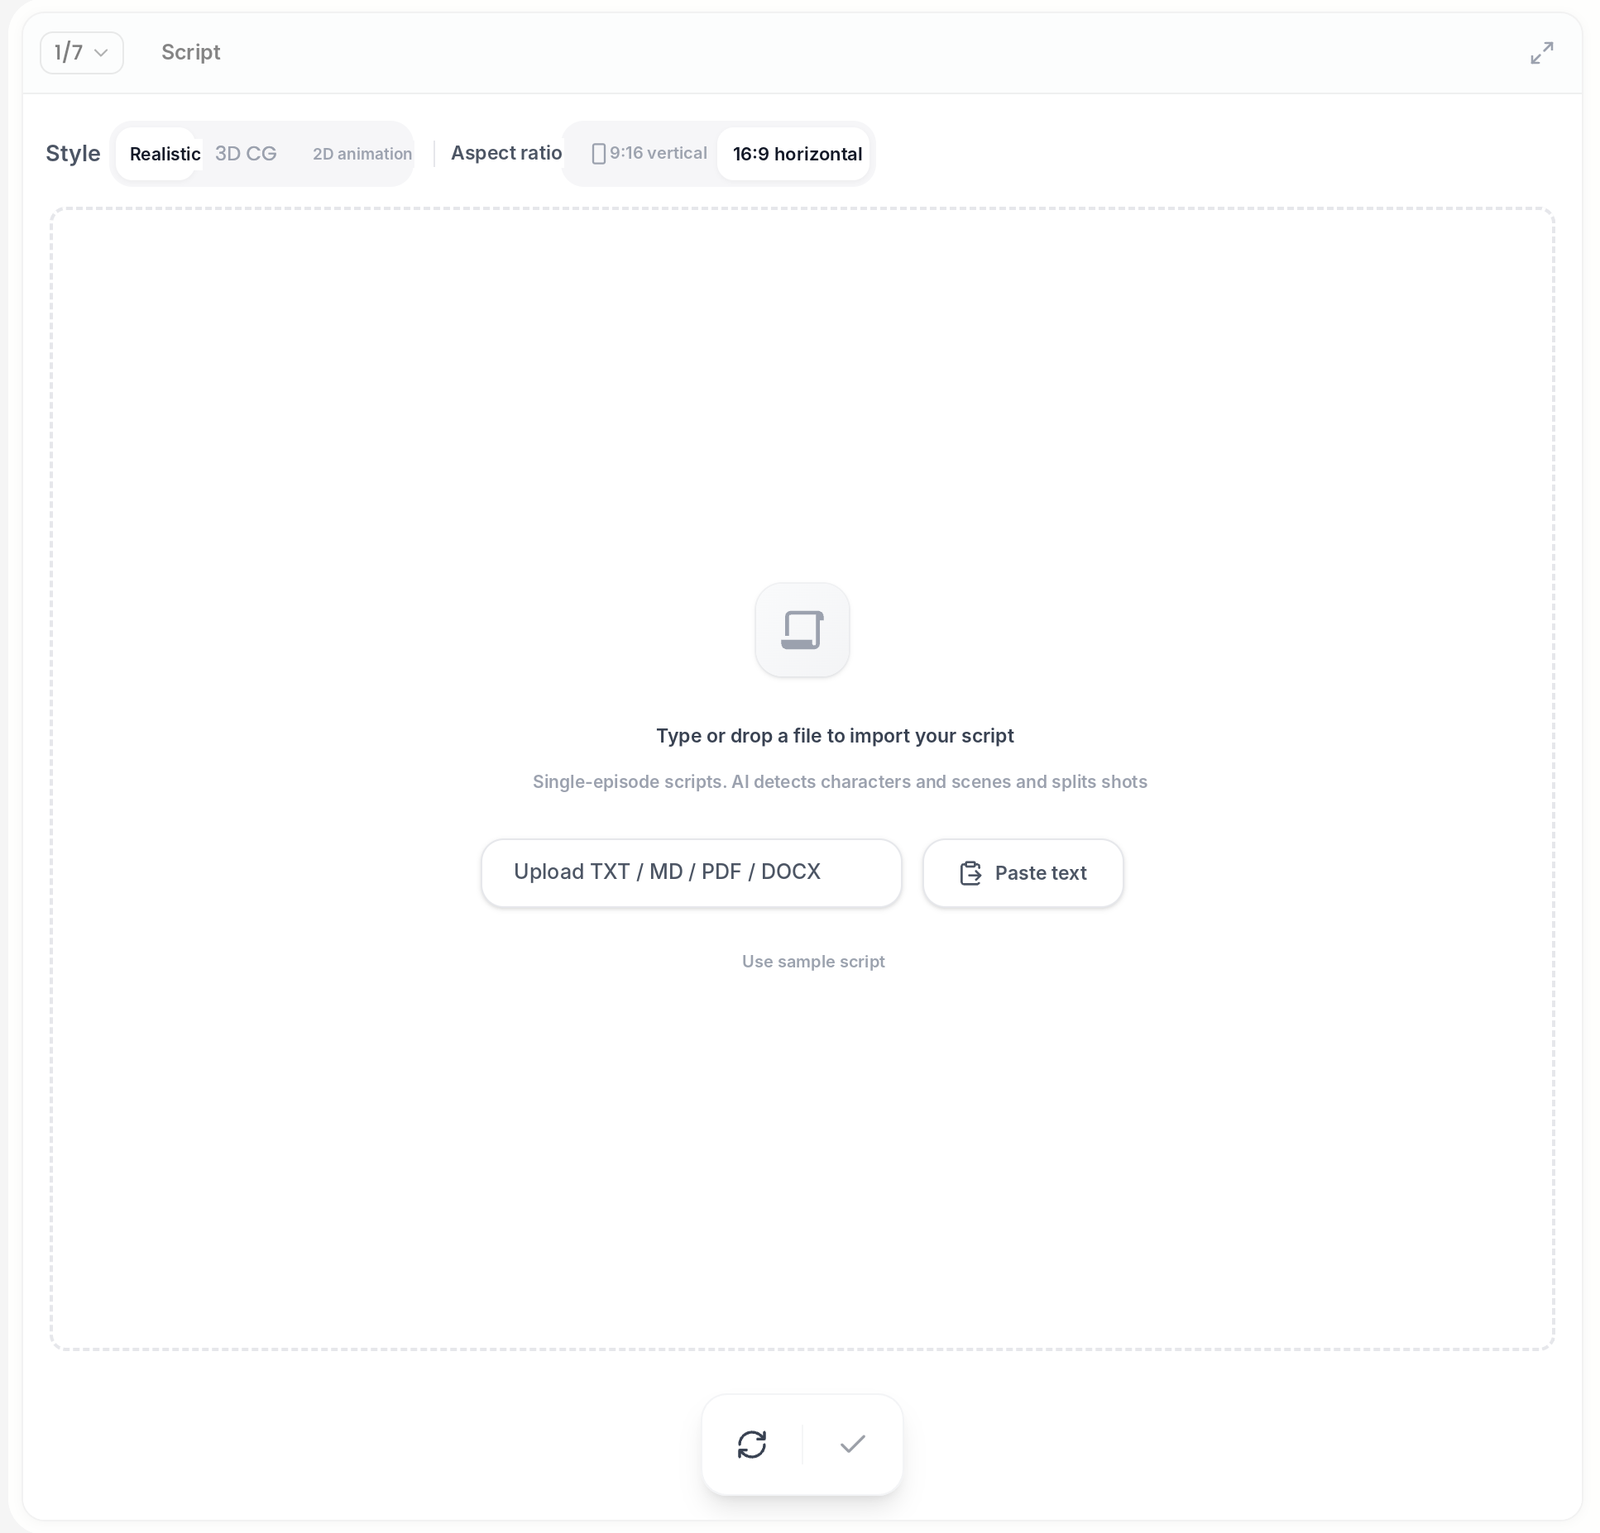
No full script yet? Start with the topic, the main content, the characters and the order of events, and add detail later. For a short video about a portable coffee maker, the outline could be:
- Show the coffee maker.
- Show someone making coffee with it.
- Show where it's used.
- Sum up the features and end on a closing shot.
That's just an example structure. Swap in your own product, story or lesson.
Step 2: Generate shots from the script and prompt
Vibbit generates the storyboard from your script and prompt. To get closer to what you have in mind, describe the visual style, the characters, the mood of each scene and what the video is for.
For an Instagram product promo, describe the product's look, the setting and the overall style. For a short drama, focus on what the characters look like, the setting and the order of events.
You don't need a pile of adjectives. Be clear about what each shot should show, and describe recurring characters and places the same way every time.
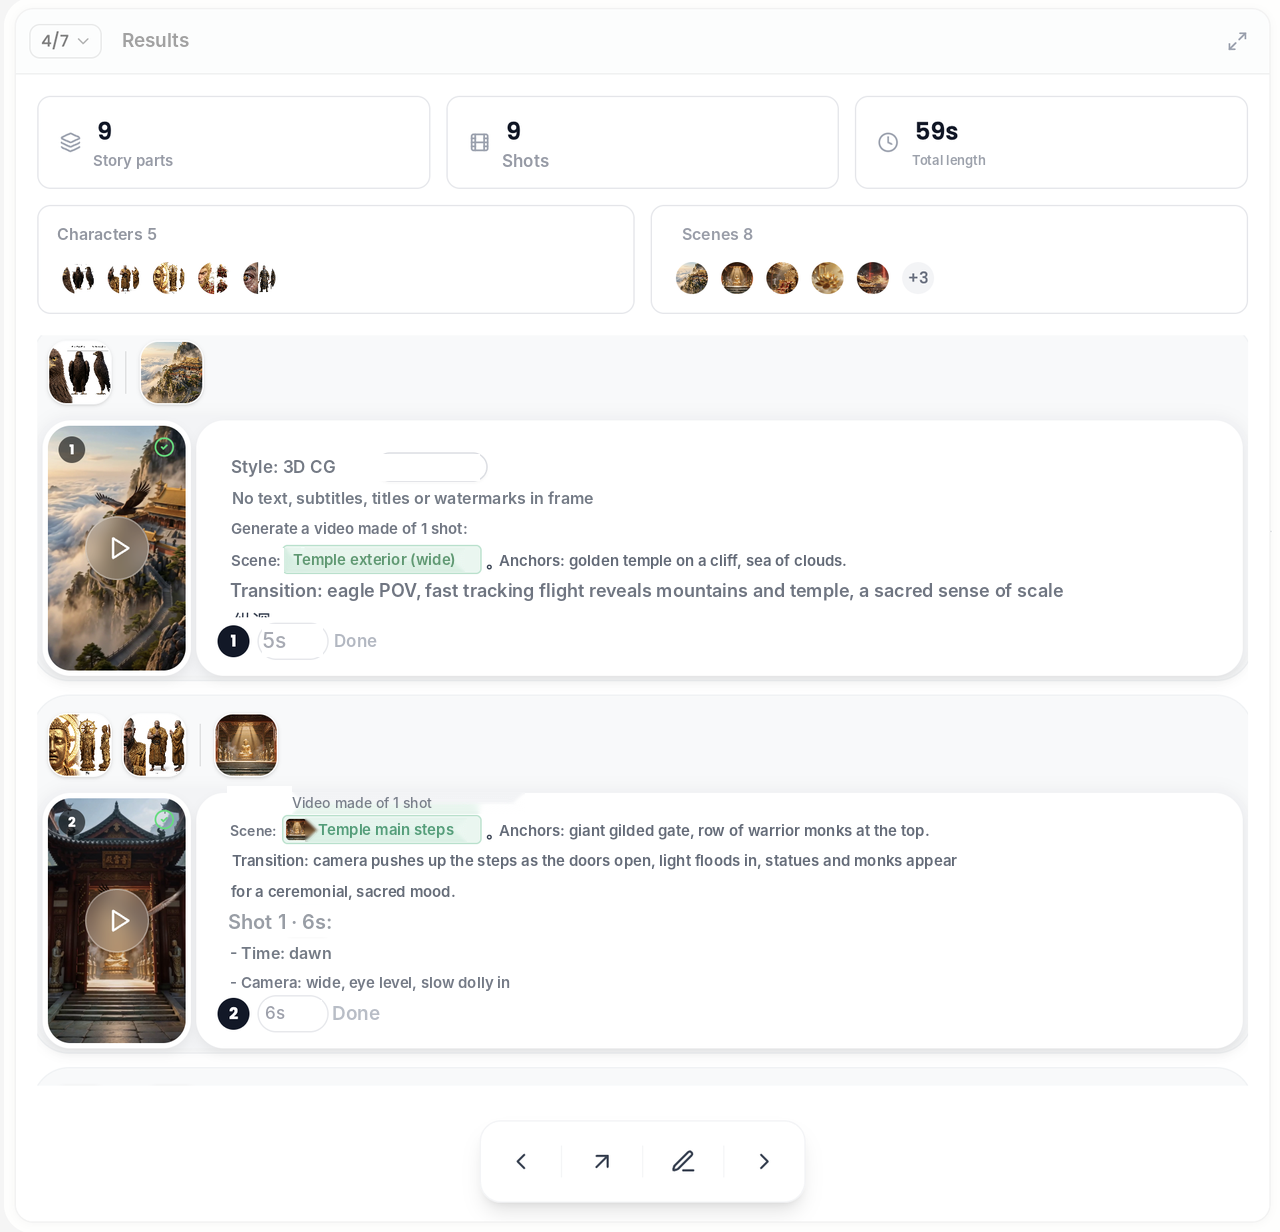
When several characters or scenes are involved, you can use reference images and switch image models to refine how they look. Results always depend on the preview, so check each shot.
Don't just judge single frames. Go through the whole storyboard in order and check that the story is easy to follow and each shot has a clear job.
Step 3: Adjust shots, characters, scenes and timing
AI storyboards usually need a human pass. In Vibbit, you can change shots and the length of each story part, and add characters or scenes with @.
Check:
- Character consistency: the same person looks the same across shots.
- Scene accuracy: location and background match the script. Use @ to link the right character or scene to a shot.
- Story order: opening, middle and end are in the right order.
- Shot length: product close-ups, demos and lesson steps may need different lengths.
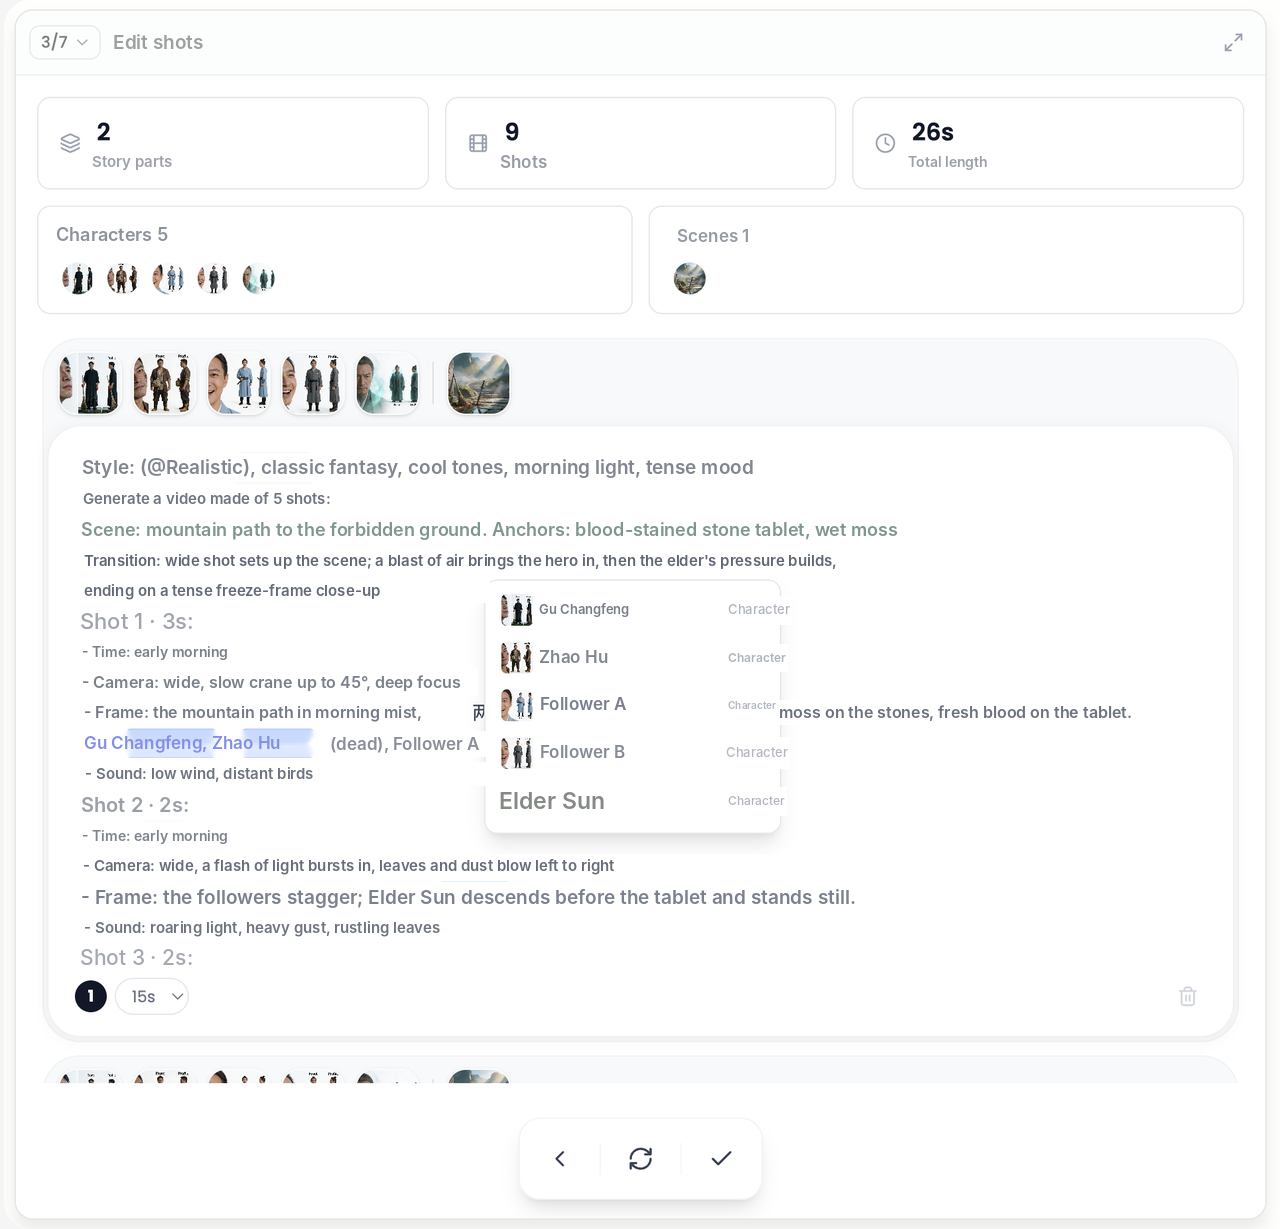
If a story part doesn't come out well, pause, retry or delete just that part. You don't have to rerun the whole script.
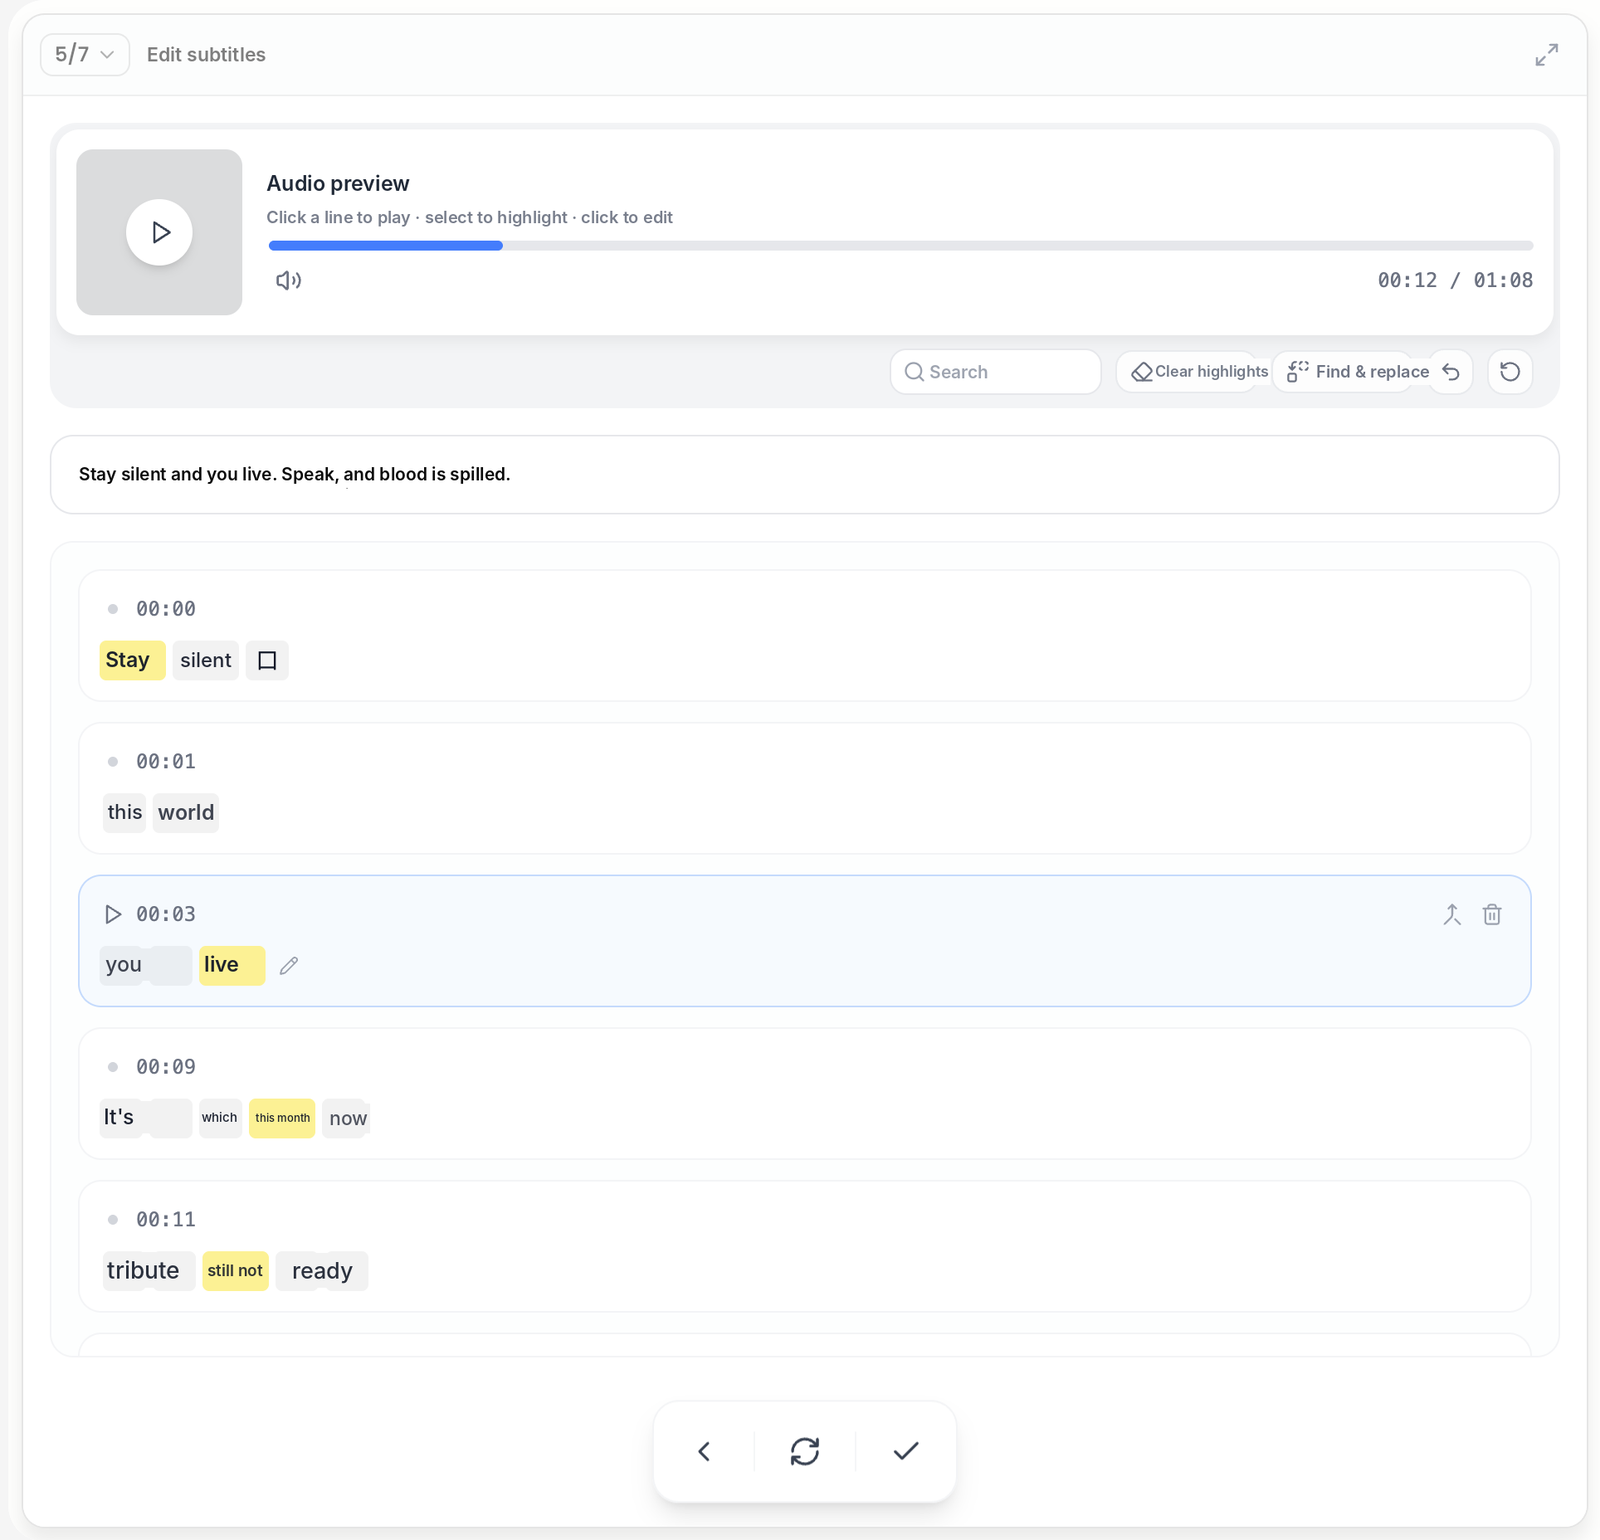
When the storyboard is done, move on to subtitles and packaging: subtitles, background music and cover.
How to get storyboards that match your script
- Write a clear script. Spell out characters, places, the order of events and the purpose of each part.
- Focus your prompt. If character consistency matters most, describe the characters. If it's a product video, describe the product details and use scenes.
- Use reference images. They give the AI more to work with, though they don't guarantee every shot matches.
- Review in order. Each frame can look fine on its own while the story still doesn't flow.
- Set shot lengths on purpose. Demos need time; transitions can be quick.
- Do a final human check. Before posting to YouTube, TikTok or Instagram, check the visuals, subtitles and packaging, and for product videos, the product's look and specs.
FAQ
What is an AI storyboard generator?
It's a tool that uses AI to create storyboard shots from a script, description or prompt, so you can plan a video visually and then adjust shots, characters and scenes.
Which script files does Vibbit support?
TXT, MD, PDF and DOCX. You can also paste the script directly.
Can I change the storyboard if I don't like it?
Yes. Adjust shots and story-part lengths, add characters or scenes with @, and pause, retry or delete individual story parts.
How do I keep characters consistent across shots?
Describe characters and scenes the same way throughout the script and prompt, and use reference images. Check each shot after generating, since AI results can still vary.
Can I keep editing the video after the storyboard?
Yes. Add subtitles, background music and a cover, then check the whole video before publishing.
Start your first AI storyboard
From script to shots to fine-tuning characters and timing, an AI storyboard generator turns written ideas into a visual plan. Import your script into Vibbit and see your first storyboard: vibbit.ai